




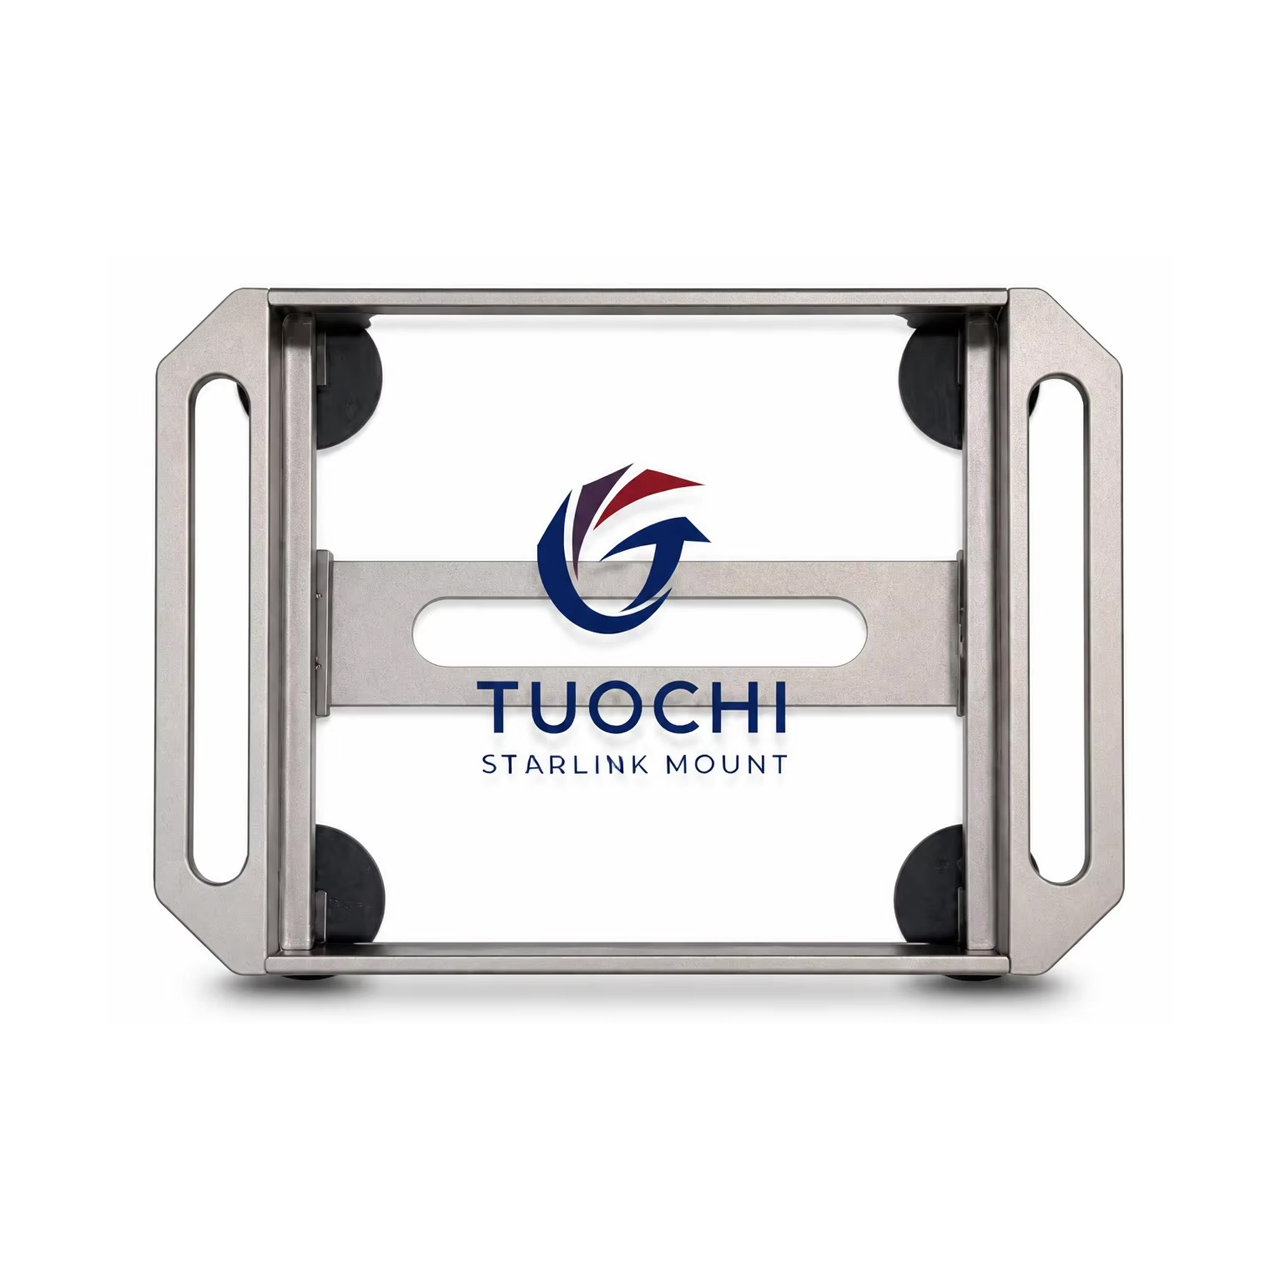
How to Mount Starlink Mini on Roof?
Starlink Mini has made satellite internet more portable and flexible, allowing users to access reliable connectivity in homes, vehicles, outdoor locations, and remote areas.
However, to achieve stable performance, the Starlink Mini terminal requires a proper installation position with a clear view of the sky. Many users choose roof installation because it helps reduce signal obstruction from trees, buildings, and surrounding objects.
So, how to mount Starlink Mini on roof?
The installation method depends on the application environment. Traditional roof mounting usually requires drilling holes and permanently fixing brackets, while modern Starlink Mini magnetic mounts provide a faster and more flexible alternative for temporary or mobile installations.
A professional Starlink Mini roof mount solution helps users achieve secure placement, easy installation, and reliable satellite connectivity.

Why Mount Starlink Mini on the Roof?
The Starlink Mini antenna needs an open sky view to communicate effectively with satellites.
Roof installation provides several advantages:
1. Better Satellite Visibility
Installing Starlink Mini on a roof helps avoid obstacles such as:
Trees
Buildings
Walls
Other structures
This improves connection stability and reduces signal interruptions.
2. More Flexible Installation Locations
A roof-mounted Starlink Mini solution can be used in many applications, including:
Residential buildings
RVs and camper vehicles
Vans and trucks
Outdoor workstations
Remote locations
3. Improved Outdoor Protection
A suitable mounting system helps keep the Starlink Mini terminal stable under outdoor conditions such as:
Wind
Rain
Dust
Temperature changes
What Accessories Do You Need to Mount Starlink Mini on Roof?
A complete Starlink Mini roof installation solution usually includes:
1. Starlink Mini Mounting Bracket
A Starlink Mini mounting bracket provides the mechanical connection between the terminal and the installation surface.
Common mounting options include:
Fixed roof mounts
Pole mounts
Vehicle mounts
Magnetic mounts
The correct mount depends on whether the installation is permanent or temporary.
2. Starlink Mini Magnetic Mount
For users who need quick installation without drilling, a Starlink Mini magnetic mount provides an efficient solution.
A magnetic mounting system typically features:
Strong magnetic attachment
No drilling installation
Quick setup and removal
Portable design
Compatibility with metal surfaces
It is especially suitable for:
Vehicle roofs
RV applications
Temporary outdoor deployment
Camping scenarios
Field operations
Compared with permanent mounting solutions, a magnetic mount for Starlink Mini provides greater flexibility for mobile users.
3. Starlink Mini Cable Accessories
Proper cable management is important for roof installation.
Useful accessories include:
Cable routing solutions
Protective cable covers
Extension accessories
Cable management clips
These help protect cables from:
UV exposure
Rain
Mechanical damage
4. Protective starlink mini case
For users who frequently move their equipment, a Starlink Mini carrying case helps protect the terminal and accessories during transportation.
A complete portable kit may include:
Starlink Mini terminal
Magnetic mount
Power accessories
Cable accessories
How to Mount Starlink Mini on Roof Step by Step
Step 1: Select the Installation Location
Before installing your Starlink Mini, choose a roof location with:
Maximum sky visibility
Minimal surrounding obstacles
Strong mounting surface
Avoid areas blocked by:
Trees
Tall buildings
Roof structures
A clear sky view helps maintain stable satellite communication.
Step 2: Choose the Right Starlink Mini Roof Mount
The mounting method depends on your application.
Permanent Roof Installation
Suitable for:
Homes
Fixed locations
Remote offices
Common solutions:
Fixed brackets
Pole mounts
Roof mounting systems
Temporary or Mobile Installation
Suitable for:
RVs
Vehicles
Outdoor activities
Recommended solution:
Starlink Mini magnetic mount
Advantages:
No drilling required
Easy installation
Easy removal
Reusable on different locations
Step 3: Install the Magnetic Mount
For a Magnetic Mount for Starlink Mini, installation is simple:
Clean the metal mounting surface.
Place the magnetic mount on the selected position.
Secure the Starlink Mini terminal.
Adjust the position for optimal sky visibility.
Connect the cable and power supply.
The strong magnetic base provides stable attachment while allowing quick repositioning when needed.
Step 4: Manage the Cable
After mounting the Starlink Mini:
Keep cables organized
Avoid sharp bending
Protect cables from outdoor exposure
Secure loose sections
Good cable management improves long-term reliability.
Step 5: Test the Connection
After installation, check:
Satellite visibility
Signal stability
Internet connection performance
If interruptions occur, reposition the Starlink Mini mount to achieve a clearer sky view.
Starlink Mini Roof Mount Applications
Starlink Mini Roof Mount for RV
RV users need portable and reliable connectivity while traveling.
A magnetic mounting solution allows:
Fast setup at campsites
Easy removal during travel
No permanent vehicle modification
Keywords:
Starlink Mini RV mount
Starlink RV accessories
portable Starlink installation
Starlink Mini Vehicle Roof Mount
Vehicles such as SUVs, trucks, and vans often require flexible satellite internet solutions.
A Starlink Mini vehicle mount provides:
Secure installation
Mobile connectivity
Quick deployment
Applications:
Overlanding vehicles
Expedition vehicles
Mobile offices
Service vehicles
Outdoor and Remote Applications
For remote work and outdoor connectivity, users need accessories that are:
Portable
Durable
Easy to install
Common applications:
Camping
Construction sites
Field operations
Emergency communication
Magnetic Mount vs Traditional Starlink Mini Roof Mount
| Feature | Magnetic Mount | Traditional Roof Mount |
|---|---|---|
| Installation | No drilling required | Usually requires fixing |
| Mobility | Easy to move | Permanent installation |
| Setup speed | Fast installation | Longer installation process |
| Application | Vehicles, RV, outdoor use | Fixed locations |
| Flexibility | High | Limited |
For mobile users, a Starlink Mini magnetic mount provides a practical solution for flexible deployment.
OEM Starlink Mini Mount Manufacturer and Custom Solutions
As a professional starlink accessories manufacturer, we focus on developing Starlink ecosystem accessories designed for outdoor and mobile applications.
Our product solutions include:
Magnetic Mount for Starlink Mini
Starlink portable power banks
Starlink cable accessories
Custom mounting solutions
We provide:
OEM product development
ODM manufacturing
Customized structures
Material selection
Branding solutions
Our goal is to provide global Starlink users with durable, stable, and highly compatible accessories.
The Best Way to Mount Starlink Mini on Roof
So, how to mount Starlink Mini on roof?
The best installation method depends on your application.
For permanent locations, traditional roof mounting solutions may be suitable. For users who need flexibility, mobility, and quick deployment, a Starlink Mini magnetic mount provides an efficient solution without drilling or permanent modification.
Whether for RV travel, vehicle connectivity, camping, or remote work, the right Starlink Mini mounting accessories help users build a reliable satellite internet setup anywhere.